BatteryChange: Difference between revisions
Jump to navigation
Jump to search
No edit summary |
No edit summary |
||
| (One intermediate revision by the same user not shown) | |||
| Line 31: | Line 31: | ||
|- | |- | ||
! 6. | ! 6. | ||
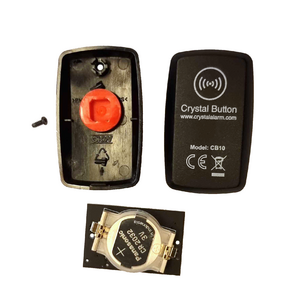
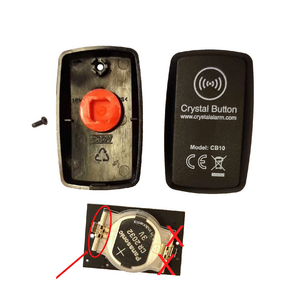
|Place the circuit board in the | |Place the circuit board in the front piece of the casing, matching the circuit button to the rubber button. Snap the pieces together and attach the screw. Important! Don´t tighten the screw too hard, not to damage the product. A torque wrench is preferably used if a large amount of units are getting a battery replacement. | ||
| [[File:Batteribyte2.png|300px]][[File:Batteribyte5.png|300px]] | | [[File:Batteribyte2.png|300px]][[File:Batteribyte5.png|300px]] | ||
|- | |- | ||
Latest revision as of 13:02, 8 December 2023
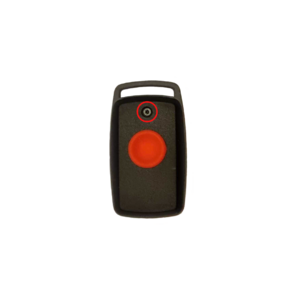
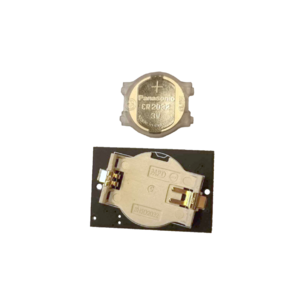
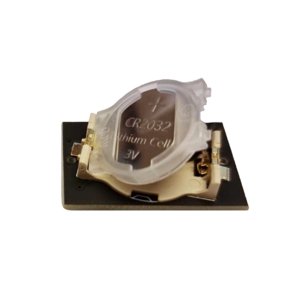
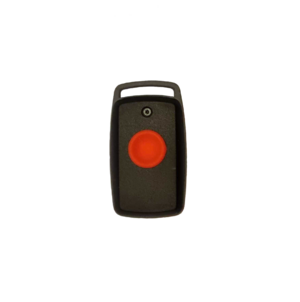
Change Battery for Crystal Button CB10.
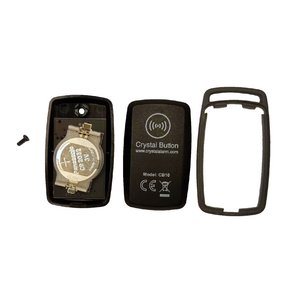
The front and back of Crystal Button is held together by a screw.
Unscrew it to take apart the casing.
Earlier versions of Crystal Button used a Philips type screw, but newer versions ,2020 and forward, uses a t6 torx-screw.
A rubber-ring is holding the back- and front-pieces securely together. For a less time consuming change, please let this ring stay in place around the back piece of the case.
Small plastic securings are welded to the front piece, these do have a tendency to fall off, this won´t affect the function of the button.
But if they do come loose, please make sure to remove them and throw them away.
