Change Battery for Crystal Button CB10.
The front and back of Crystal Button is held together by a screw.
Unscrew it to take apart the casing.
Earlier versions of Crystal Button used a Philips type screw, but newer versions ,2020 and forward, uses a t6 torx-screw.
A rubber-ring is holding the back- and front-pieces securely together. For a less time consuming change, please let this ring stay in place around the back piece of the case.
Small plastic securings are welded to the front piece, these do have a tendency to fall off, this won´t affect the function of the button.
But if they do come loose, please make sure to remove them and throw them away.
| 1.
|
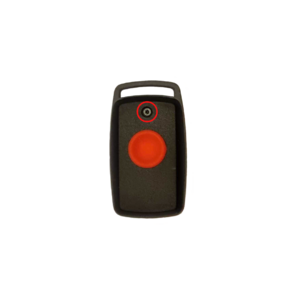
Remove the screw.
|
|
| 2.
|
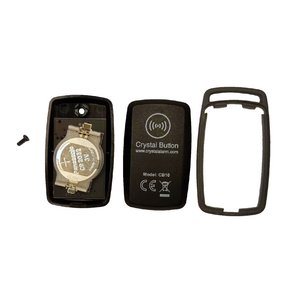
Detach the front piece from the rubber ring and the back piece.
|
|
| 3.
|
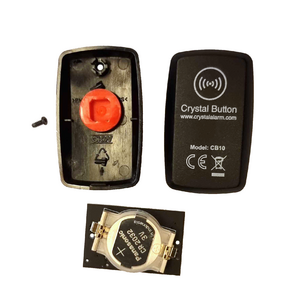
Remove the circuit board from the front piece. Important! The circuit board is ESD-sensitive and should be handled with ESD-secure equipment.
|
|
| 4.
|
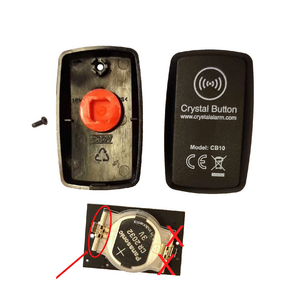
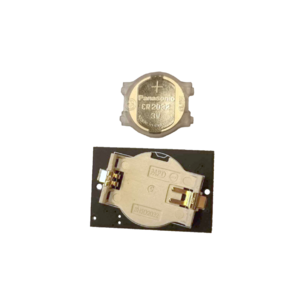
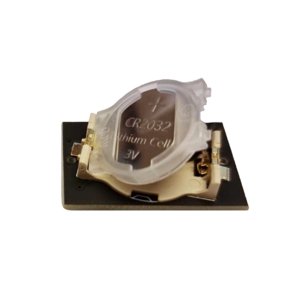
Release the battery casing from the holder using a thin plastic tool. Important! Loosen the feathered side first, or the battery connectors can be damaged which can affect the functionality of the button.
|
|
| 5.
|
Once the casing has come off, replace the battery, and then put the casing back. Important! Insert the casing the same way you took it out, not to damage the connectors.
|
|
| 6.
|
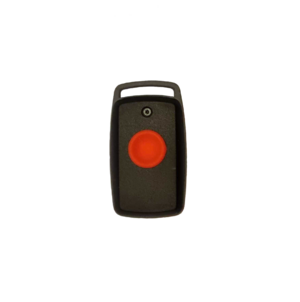
Place the circuit board in the front piece of the casing, matching the button to the rubber button. Snap the pieces together and attach the screw. Important! Don´t tighten the screw to hard, not to damage the product. A torque wrench is prefeably used if a large amount of units are getting a battery replacement.
|
|
| 7.
|
Test the button.
|
|


